CMS groups help you quickly divide up work on your site.
Groups are an important part of Workflows. For example, you could set up a group of Authors to create content and a Reviewers group to review content for publication.
Groups are also helpful in managing permissions.
CMS Users and Groups are those users who log into and use iAPPS. Website users (visitors to your website) are managed separately.
Remember only a Site Administrator can create groups, although Content Administrators can manage them afterward.
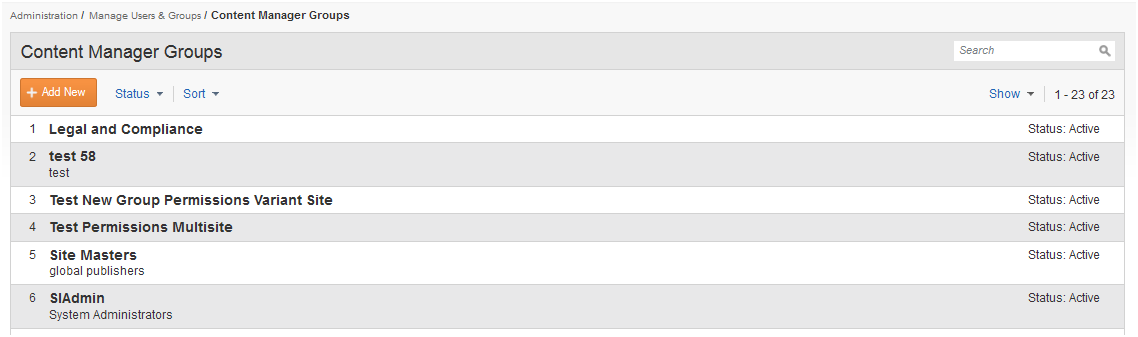
To manage groups, select Administration > Manage Users and Groups > Content Manager Groups from the main navigation menu.
The Content Manager Groups page appears with a listing of all groups.
You can filter and sort the groups by status (active, inactive) or sort them by group name by choosing from the two drop down menus. You can also search for a group in the Search box in the header bar.
From here you can
If you select an existing group, you will see more options include
To add a new CMS group:
From the Content Manager Groups page, click Add New.
To edit an existing group:
From the Content Manager Groups page, highlight the group name and click Edit.
If you click Save & Add Permissions, the Manage Permissions screen will appear with your site's menu structure on the left and the possible permissions on the right.
Note: Users and Groups are shared across variant sites and will always display on each site. However, user permissions are not shared. If you copied all Menus and Pages when the site was created, then user permissions will be copied to the new site. [Any user in a CMS grou on the Master site will appear in a group with that name on the Variant site.} From that point, if group permissions are updated, they will not affect other sites. If you are using multiple sites, you will need to switch sites (using the drop down menu at the top) to create a new group for a variant site or to view the appropriate menu nodes and libraries. Be sure to save your master site permissions before switching sites. Once you have switched sites, you can assign permission for a single group from the Content Manager Groups screen or assign multiple users and groups by editing menu node permissions in Menus & Pages.
You can edit permissions directly by clicking Edit Permissions from the Content Manager Groups page.
The Manage Permissions screen will default to display the Site Navigation (Menus) for the main website. You can switch to assign permissions for the Content Items, Files or Images Libraries by selecting from the Select Library drop-down menu on the upper left of the screen.
Note if you are using multiple sites, you will need to switch sites (using the drop down menu at the top) first to view the appropriate menu nodes and libraries. Be sure to save your master site permissions before switching sites. Once you have switched sites, you can assign permission for a single group from the Content Manager Groups screen or assign multiple users and groups by editing menu node permissions in Menus & Pages.
Check the box next to the type of permissions you want your group to have on each menu node or library folder.
When you are finished editing permissions, click Save.
You will receive a confirmation notice that your changes were successful. You can click Cancel to return to the Content Manager Groups screen.
You can either delete a Group entirely or deactivate the group temporarily. Deactivated or Activated CMS groups can be filtered out of the main groups list. A deleted CMS group no longer appears in the Search/Select Group list.
Deactivating or deleting a group disassociates all the workflow responsibilities and permissions for that group. Before deactivating, you must reassign the workflow responsibilities and permissions, or your workflow will fail.
To Delete or Deactivate a Group:
|
iAPPS is a product of Bridgeline Digital
|
