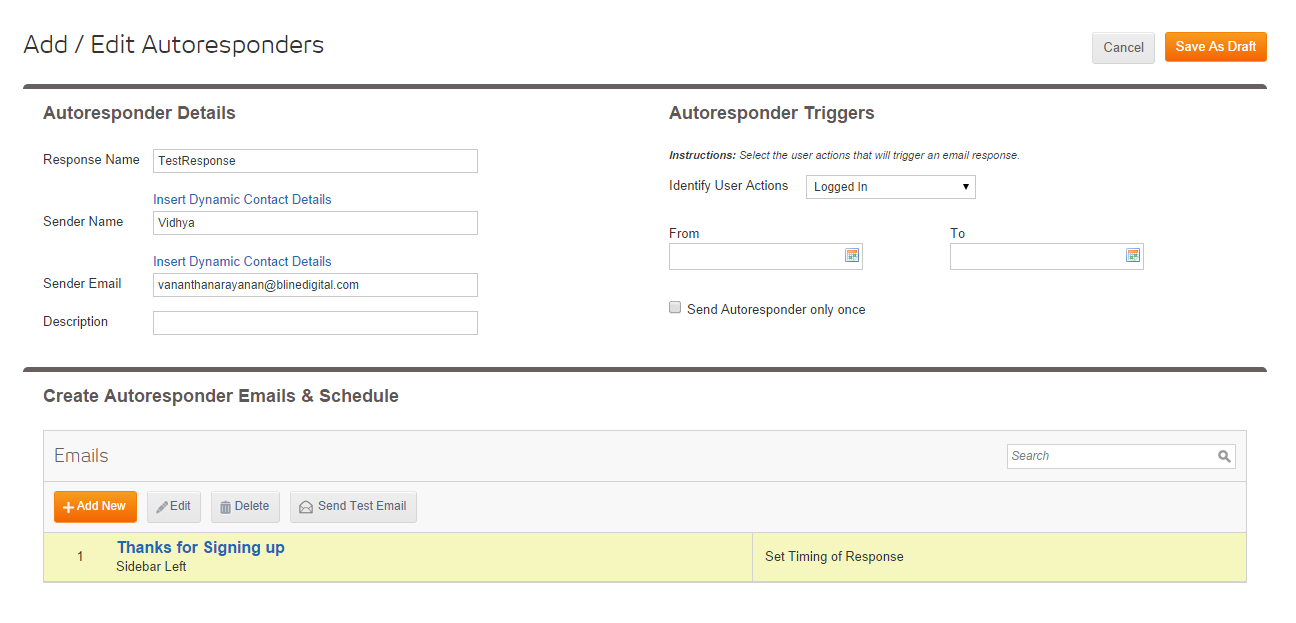
The Add / Edit Autoresponders wizard starts with Autoresponder Details.
To define a response:
|
Field |
Enter |
|---|---|
|
Response Name |
A name to uniquely identify this response. |
|
Sender Name |
Name to appear as sender of response email. Either specify a name or click checkbox beside Use Contact Property to generate a custom sender name, personalized to each recipient, based on a contact property value. |
|
Insert Dynamic Contact Details |
Click the check box and select a contact property by which Marketier selects a name to use as the sender. Instead of a set name, Marketier fills the “Sender Name” field with the value of the selected contact property for each contact who receives this email. As with an email, this would be to specify a certain representative, account manager or broker, etc. that might change for each customer. |
|
Sender Email |
Email address of sender. Either specify an address or click checkbox beside Use Contact Property to generate a custom sender email address, personalized to each recipient, based on a contact property value. |
|
Insert Dynamic Contact Details |
Tied with Contact Property noted above. Click the check box and select a contact property which Marketier uses to select an email address to use as the Sender Email. Marketier fills the “Sender Email” field with email of the selected representative. |
|
Unique Response ID |
Unique ID associated with this Marketier response that you can use to link to this response from another software application. |
|
Description |
A description of the purpose of this response. |
Next you will Identify Triggers.
See "Response Wizard Step 2 - Choose Triggers"
|
iAPPS is a product of Bridgeline Digital
|
