You can create the following types of lists:
In the Content Lists Screen (Manage Site Assets > Libraries > Content Lists), click Add New.
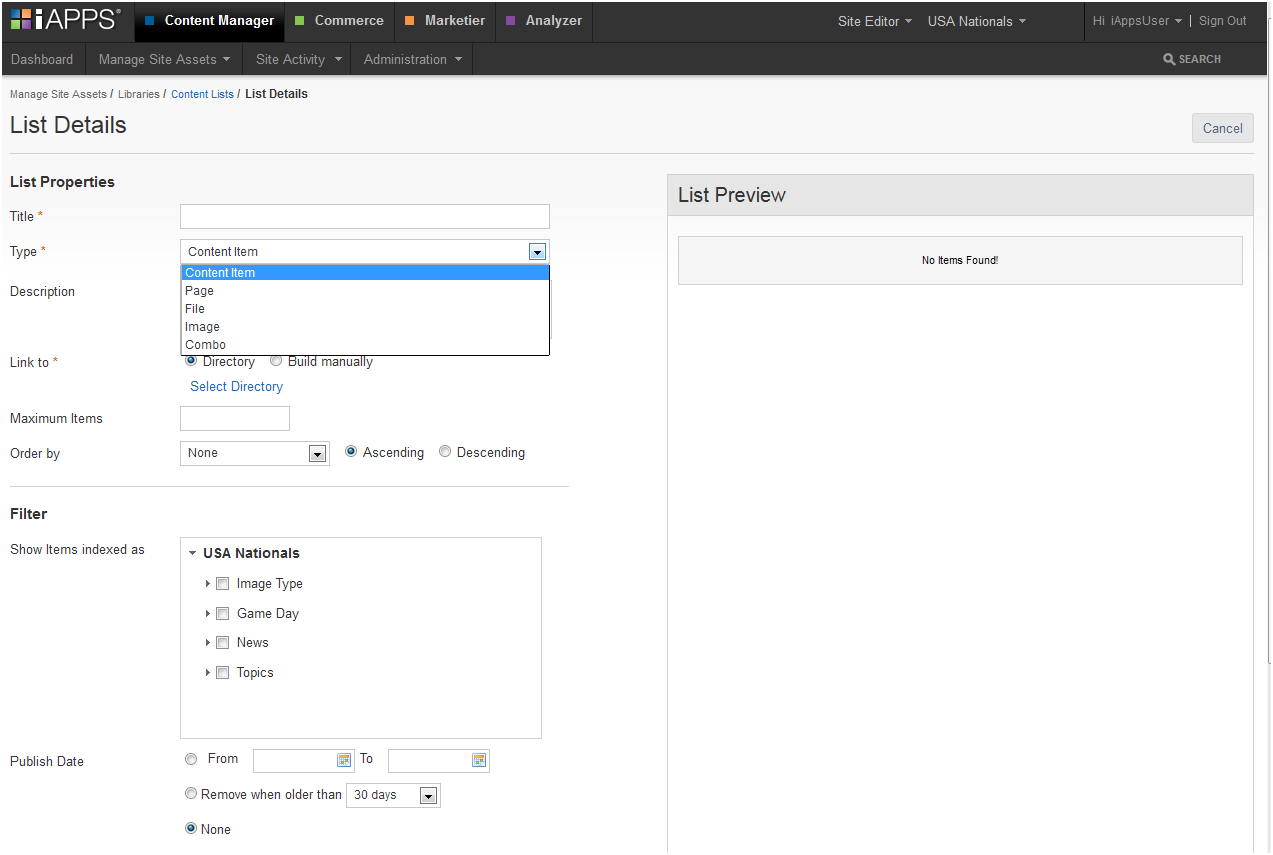
A blank List Details page appears:
List properties are on the left side, while a List Preview is on the right.
Enter the List Properties as described below in the table and directions.
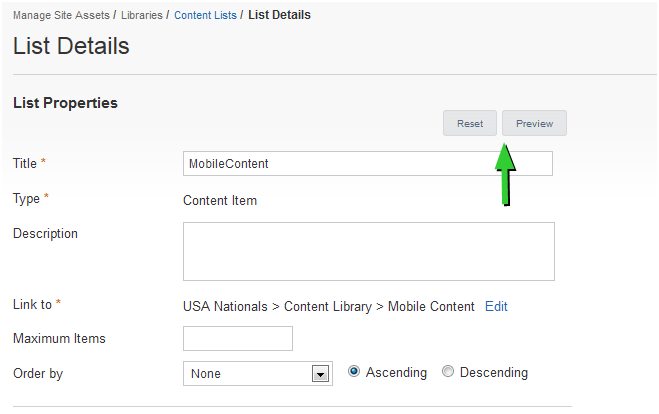
For an Existing List: most of these items can be edited with the exception of the Title and List Type. Click Preview to see what affect your changes will have.
Click the arrow in the Order by pick-list to specify the criteria by which to order contents from the selected directory: Title, Description, or Creation Date.
Click the appropriate radio button to select to display content items in ascending or descending order according to the order by criteria.
Click the Publish Between radio button to specify a publish date range and then choose a range using the calendar drop-down.
Click the Remove When Older than radio button and choose a date term from the options (ranging from 30 days to a year).
If you want no publish date limitations, leave the radio button on the default None.
To add items to a manual list, click Add List Item(s) to add existing items from the library.
iAPPS will display the appropriate library for your type of content.
Note: if you choose Combo list, you will see a drop-down list of content types (Pages, Content, Images, Files). Choose the one you would like and then choose Add List Item(s).
You will need to repeat the addition process for each different type of content you want.

Navigate through the menu node and folder lists in the left pane. As you navigate the directory, you see the options you can choose for the list appear in the center pane.
Check the box next to any Items you want and then click the Add Items button at the top of the listing.
The items will appear in the Content/Page/File or Image List on the far right pane.
Click the X next to an item to remove it from the list.
When you finish selecting all items from that library to include in the list, click Save at the bottom on the modal. The selected items appear in the List Preview Pane of the main List Details screen.
|
iAPPS is a product of Bridgeline Digital
|
