Complete the Send Email section as described in the following table.
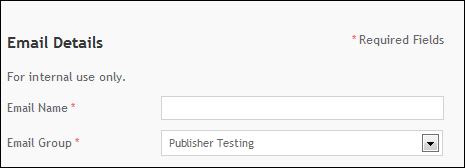
Send Email detail fields:
|
Field |
Enter |
|---|---|
|
Email Name |
Name to store and track this email in iAPPS Marketier. |
|
Email Group |
Choose the Group where you want to file the email. |