Emails in Marketier are added and edited through a wizard system.
You can reach the wizard using the context menu that appears when an email name or an Email Group Name is highlighted. Remember that all Emails must belong to an Email Group.
| Location | Menu Options | To |
|---|---|---|
|
Email group name |
Add New Email |
Create a new email. |
|
Email name |
Add New Email |
Create a new email. |
|
Copy to New |
Create a new email based on an existing email. |
|
|
View/Edit Email |
Make changes to an existing email. |
You can also go directly to the email wizard by selecting Emails > Add New Email from the Marketier Top Menus.
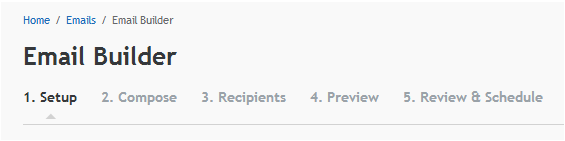
The Marketier Email wizard guides you through the email creation process step-by-step.
The following table describes the buttons that may appear on any of these pages:
|
Button |
Function |
|---|---|
|
Cancel |
Returns to the Emails container without saving. |
|
Continue |
Goes to next page of email wizard. |
|
Back |
Goes to previous page of email wizard. |
|
Save content |
Save and continue working. |
|
Save as draft |
Save and return to Emails container. |
|
Exit |
Returns to Emails container without saving. |
|
Submit to Workflow |
Submits email into workflow process where it can be approved by a publisher. |
|
Publish |
Makes email active so that it runs as scheduled. |
When editing existing emails with a status of active, you can click on any Add / Edit Email wizard step tab to go directly to that step.
When creating a new email, you can only move forward through the Email wizard steps in the defined order.
See related sections for details on the Wizard Process.
|
iAPPS is a product of Bridgeline Digital
|
