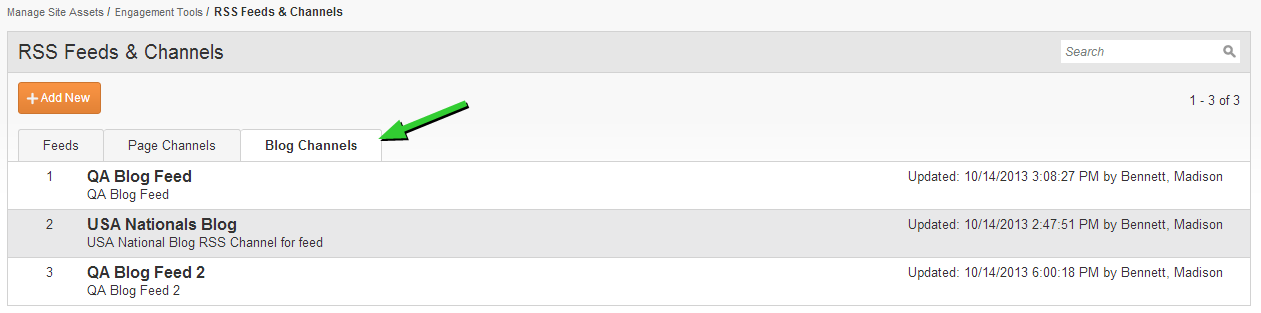
To add a new RSS channel for a Blog:
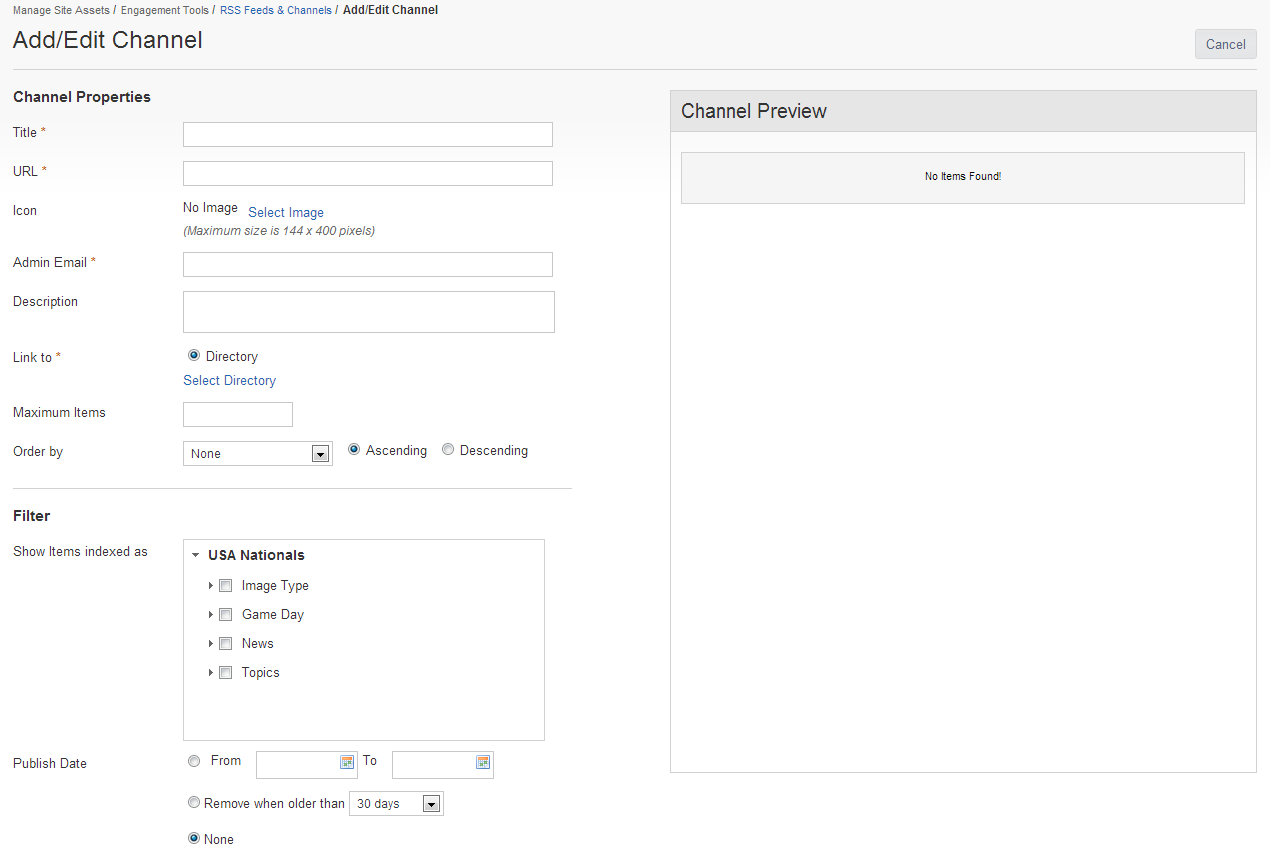
| Channel Property | Description |
|---|---|
| Title | Enter a title to name this channel. |
| URL | This should be the URL that would allow users to link to the blog source. |
| Icon | To select an image to use as an icon for this channel, click Select an image in the resulting Insert Image from Library dialog. - Select a directory. - Locate the image to use in the images list for the selected directory. - Click on the image and choose Select Image. The path and filename of the selected image appears in the Icon Field in the properties pane. |
| Admin Email | Email address of the channel administrator. This is required for RSS. |
| Description | Enter a brief description of the contents or use of this channel. |
| Link to: |
Directory (Auto).
You cannot manually build a Blog RSS Channel. |
| Maximum Items |
Enter the maximum number of pages from the selected directory to display as channel items. Leave field blank to display all pages. |
| Order by |
You can choose the display order for the feed items from the drop-down list. Options are None; Title; Description; Created Date • Click the appropriate radio button to select to display pages in ascending or descending order according to the order by criteria. |
| Filter |
You can filter the feed to only show items with specific tags. • Click the check box beside the Tag folder or term to add . If you select a folder, a confirmation dialog appears, prompting you to specify whether you want to add all tags in the folder. |
| Publish Date |
Optionally, specify a publish date on which this channel will be available for use with one of the following options: Publish Between • Click the radio button and specify a publish date range. Remove When Older Than • Click the Remove radio button and chose a date option from the drop-down list. None • Click the None radio button to not specify a publish date. |
|
iAPPS is a product of Bridgeline Digital
|
