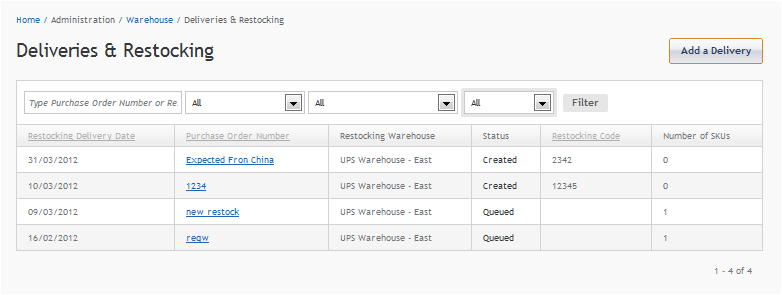
To manage warehouse delivery information, go to Administration > Warehouse > Deliveries and Restocking.
The Deliveries and Restocking screen has a table with the following options:
|
Column |
Shows |
|---|---|
|
Restocking Delivery Date |
Expected Restocking Delivery Date |
|
Purchase Order Number |
Purchase Order Number |
|
Restocking Warehouse |
Your warehouse (or which warehouse, if you have more than one) |
|
Status |
Status of Order.
|
|
Restocking Code |
Optional - many integrations use this as a unique identifier |
|
Number of SKUs |
Number of SKUs included in the delivery |
If you have multiple restockings scheduled, you can filter the listing to narrow your options. You can filter by:
To view only a subset of deliveries, simply choose your desired filters and press Filter.

- Purchase Order Number
- Delivery Date
- Receiving Warehouse Details
- Restocking Code
- Desired comments
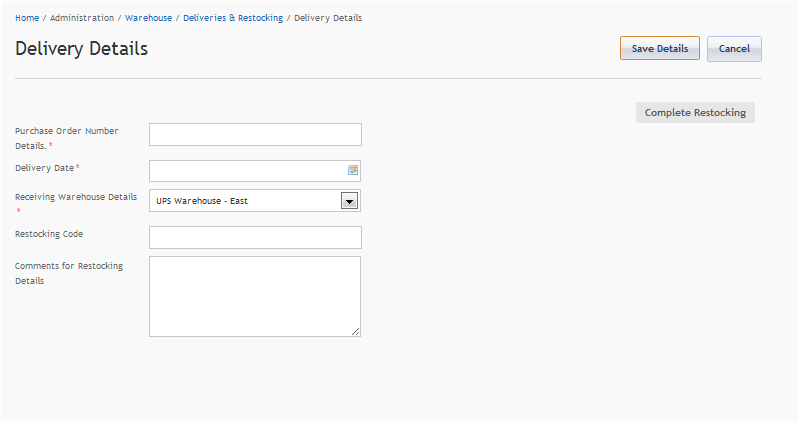
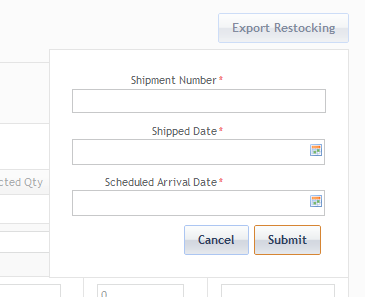
Click Save Details to continue and add SKUs to the delivery.
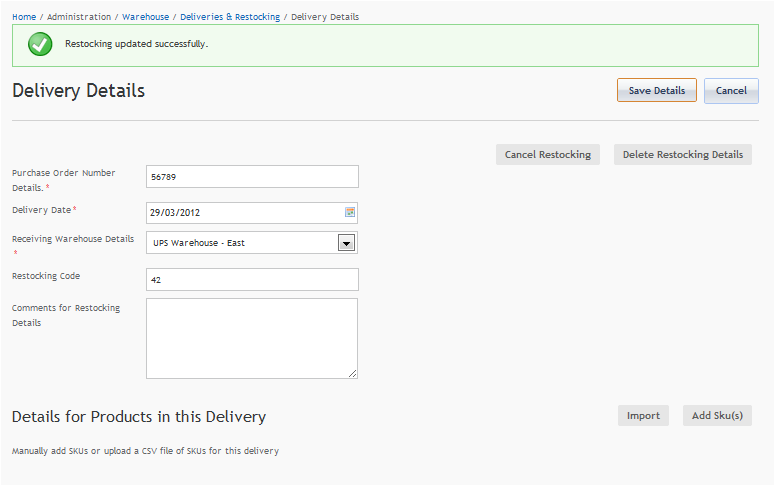
Once you’ve saved details for a restocking, you will receive additional options such as the ability to delete the details, cancel the restocking, and import or add SKUs for the products in the delivery.
To add SKUs to a delivery, it must have a status of Created or In Progress. You cannot add to Completed or Queued deliveries.
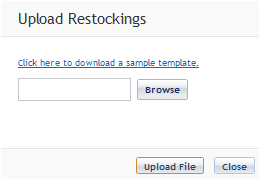
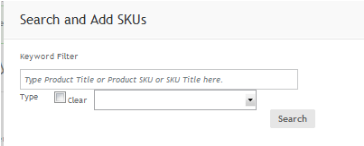
To add SKUs, either upload a CSV file of values or enter SKU values manually.
For example, choosing the product type “hats” brings up the following product screen.
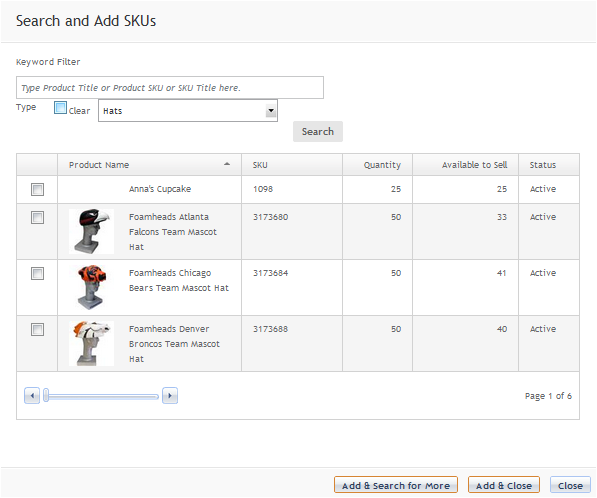

Your products will appear in the Details for Products in this Delivery area.
If you are adding an expected quantity so that information will display on the site, you can also later reopen a restocking and edit/fill in the information in the Received Quantity column.
|
iAPPS is a product of Bridgeline Digital
|
