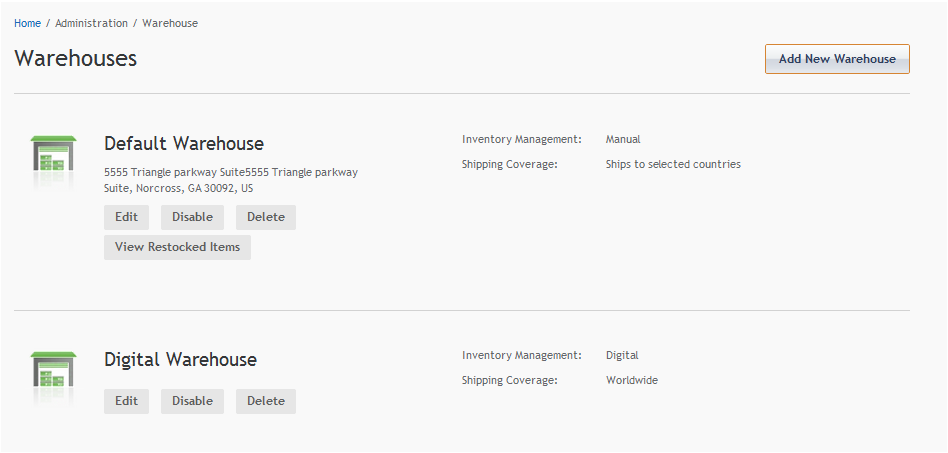
You create or edit warehouse in the iAPPS Commerce Admin UI. You can set up Internal, External, Digital warehouses. You can also designate a warehouse as a returns warehouse.
To create a new warehouse or edit existing warehouses, log in as a site or installation administrator to the Commerce Admin UI and choose Administration > Warehouse to access the Warehouses screen.
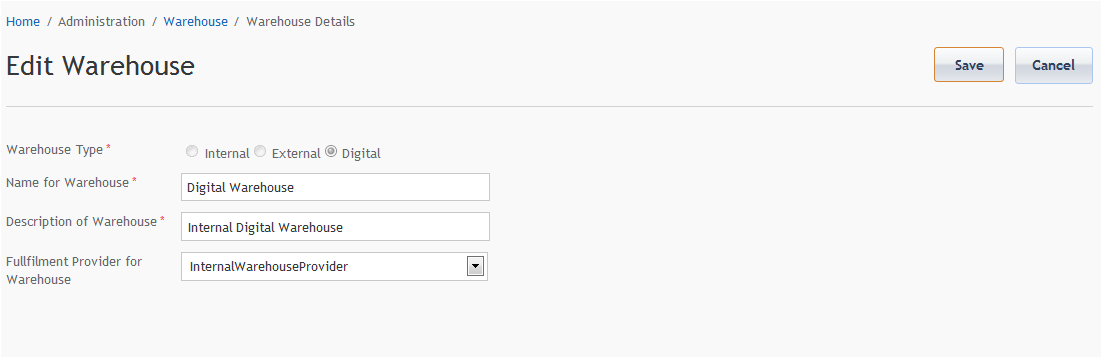
Clicking on Add New Warehouse or Edit under any existing warehouse will bring you to the Warehouse Details screen.
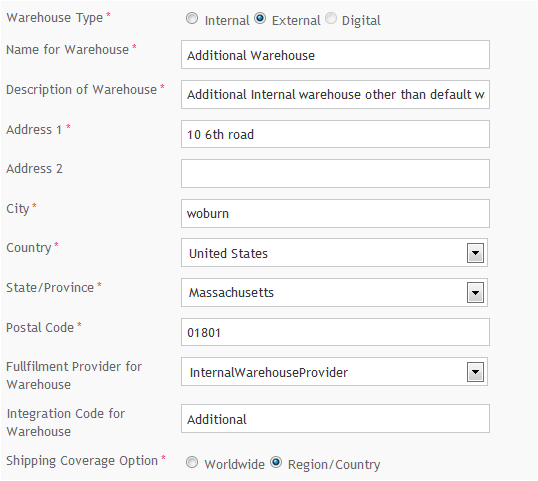
While adding or editing warehouse details, you will need the following basic information:
Note Digital warehouses will not require a physical location or shipping information, only a fulfillment provider.
For Shipping Options, if you select region/country, you will then be asked to select countries for delivery. (Delivery and other warehouse details can be edited later.)
To choose shipping areas:
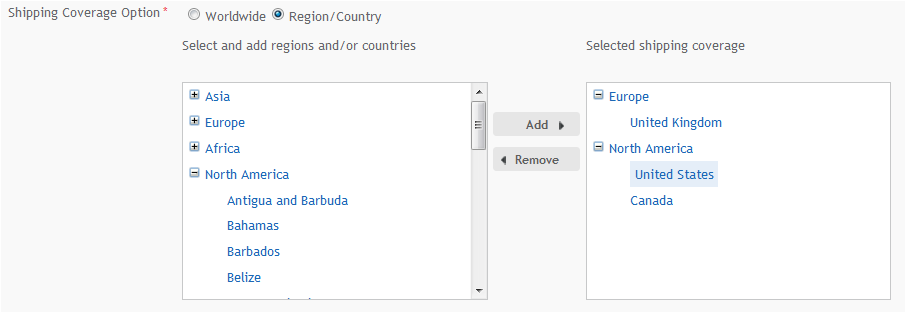
Shipping Areas can be deleted by highlighting in the right hand column and pressing Remove.
When setting up warehouses, you should also choose a warehouse for returns if you support them. Returns warehouses receive any returned merchandise. A site can only have one returns center at a time.
Ensure that the warehouse you want to designate is set up first as you can only choose an existing warehouse.
Log in as an Installation or Site Administrator.
Go to Administration > Developer Configuration > General Site Settings.
Under the setting Return Warehouse, choose from the drop-down options to choose one of your warehouses as the returns warehouse.

|
iAPPS is a product of Bridgeline Digital
|
