 on an image container and select Edit Image. (Note: you will not be able to edit an image that is within a free text container. Instead go to the Images Library and edit it there.
While in iAPPS, you can perform basic edits to your images, such as resizing, cropping or rotating the image.
You may also want to edit the Image Properties (such as description or alt-text). This is done separately. See "Viewing and Editing Image Properties"
Content Manager provides you with the following options for editing an image:
You can edit images either from a Site Editor Image container or in the Images Library.
From Site Editoron an image container and select Edit Image. (Note: you will not be able to edit an image that is within a free text container. Instead go to the Images Library and edit it there.
From the Images Library (Manage Site Assets > Libraries > Images)
An Edit Image dialog appears:
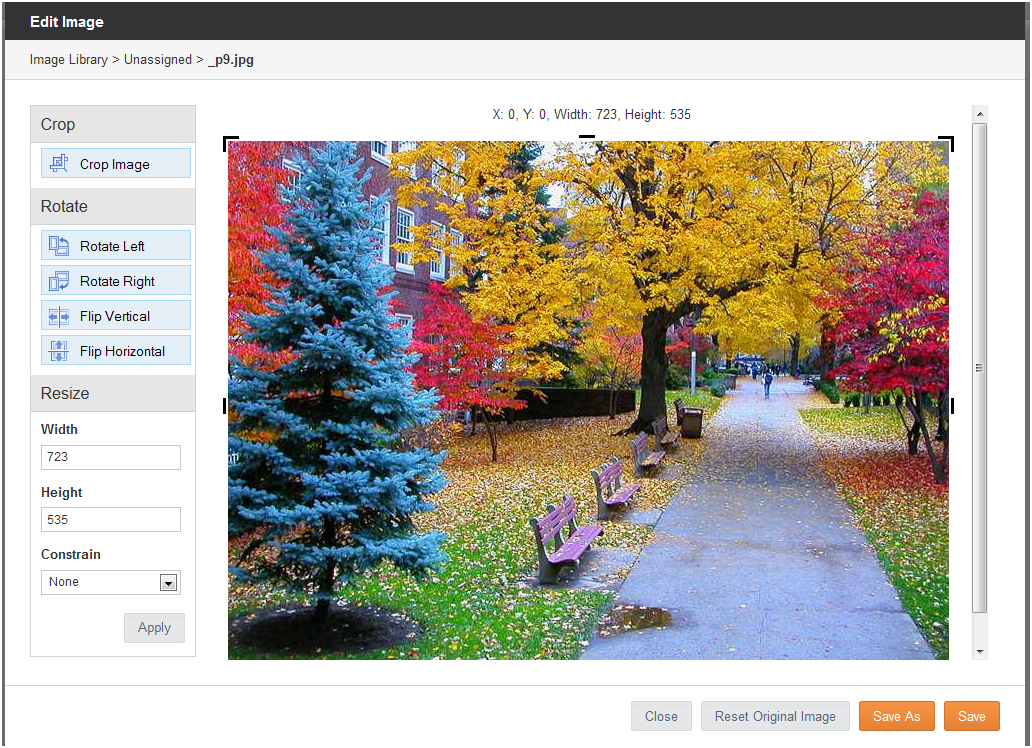
Choose any of the options below to edit your image.
If you wish to have the picture proportions constrained by specified width or height (i.e. changing one size will automatically change the size of the other axis in proportion):
Note that if you choose Save As and the image is used on multiple pages, the image will not change on other pages. If you click Save and overwrite the existing image, the image will change on any page where it is used.
|
iAPPS is a product of Bridgeline Digital
|
