Adding or Editing a Form involves the following major steps:
Content Manager provides you with a form builder that allows you to create a two column form with custom fields. You can export user's attachments or export the results of the form to Excel or other programs in a .csv format.
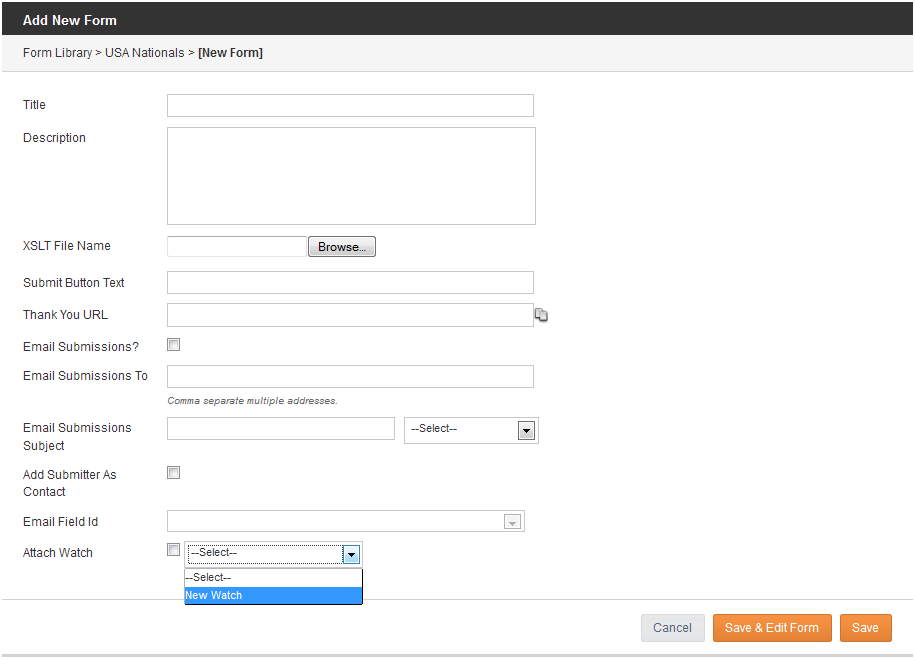
You can specify a number of form behaviors and properties including:
To add an XSLT file for this form, click .
You can specify a URL or iAPPS page to direct the user to after completing a form or poll.
If you would like to specify a Thank You landing page from your site, you will need to have created the page first. If you haven't done so yet, simply skip this step for now. When you've created the page you can return to the Forms Library and edit the properties for the form.
Specify text to display on button that users click to submit form.
If you wish to add the form submitter's email to the iAPPS database so that they can be contacted with iAPPS Marketier, check this box.
If you check “Add Submitter as contact” then this drop-down will be enabled.
If you wish to have the form trigger a Watched Event (Set up in iAPPS Analyzer) as part of the form process, then pick the event from the list.
- If you were editing an existing form, click Save to return to the Forms Library listing.
- If you were creating a new form then you have the option clicking Save to return to the Forms Library Listing and edit your layout and fields later, or click Save and Edit Form to design the form's layout and fields now.

You can preview how a form will look to a user from the library list by highlighting its row and choosing Preview from the More drop-down list. There will nothing to preview, however, until you design the form or poll layout.
|
iAPPS is a product of Bridgeline Digital
|
