Make sure it is a Variant Site (not a multi-site) that you want to create.
See "Managing Sites" for multi-site information. See "How Variant Sites Work"
Only Site or Installation Administrators can create new sites.
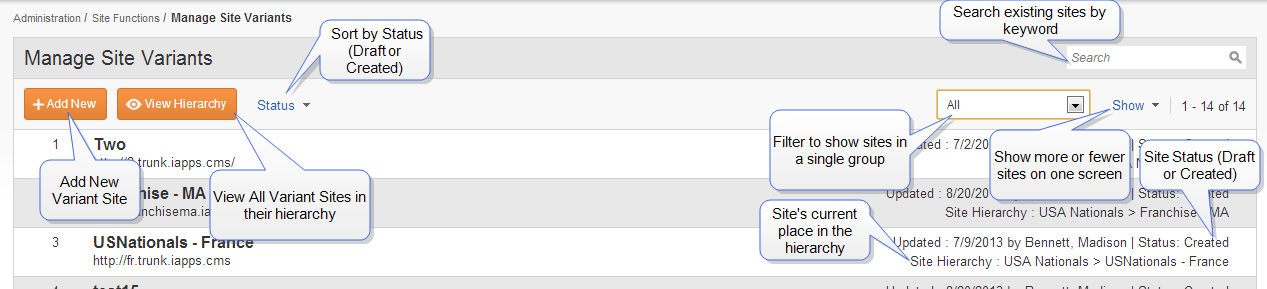
Go to the Manage Site Variants screen (Administration >Site Functions > Manage Site Variants).
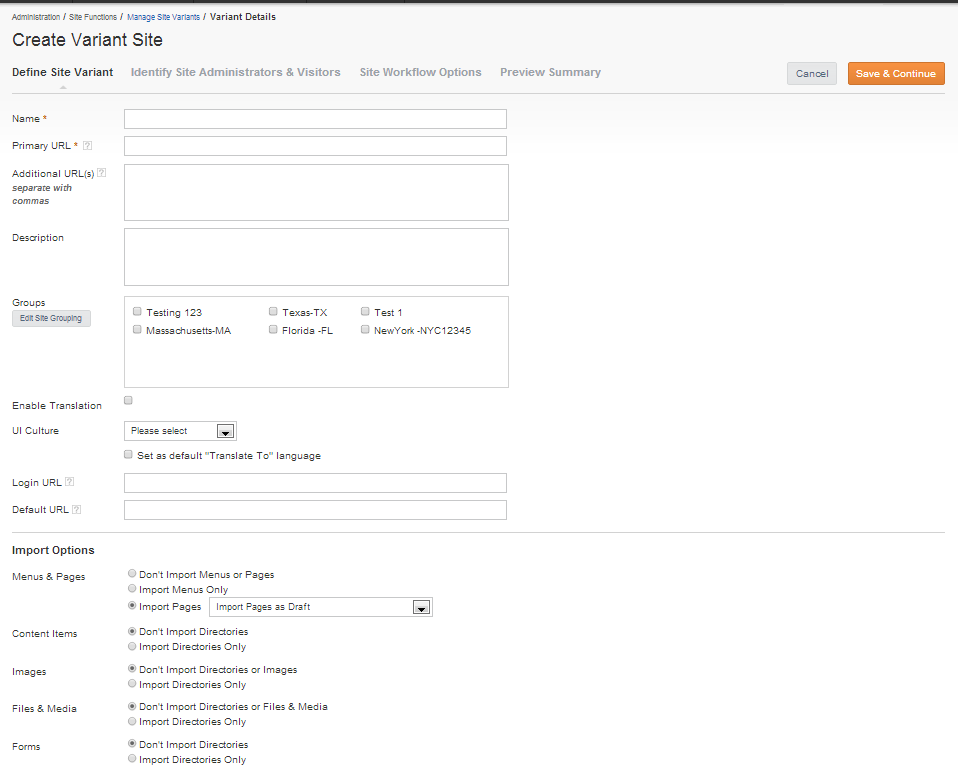
The Create Variant Site wizard will start. At each stage you can click Save & Continue or Back or Cancel.
If you stop at one of the steps in the Wizard (by clicking on Manage Site Variants in the breadcrumb, for example) entries will be saved and appear as a draft in the Manage Site Variants listing. To continue editing the properties of the draft variant site, highlight the site name in the variant list and click Edit Properties.
Once the site is created (all steps in the process are completed and saved), however, some properties can no longer be changed through the wizard. For example, iAPPS users can no longer be added though this interface. However, you can add users through the normal Menu Permissions or iAPPS User interfaces.To review detail for a created site, highlight the site name in the variant list and click View Details.
Add essential details for your site variant as outlined in the table.
Important: In order for your new site variant to be accessed by iAPPS users, each new URL will need both both IIS
| Property | Description/Instructions |
|---|---|
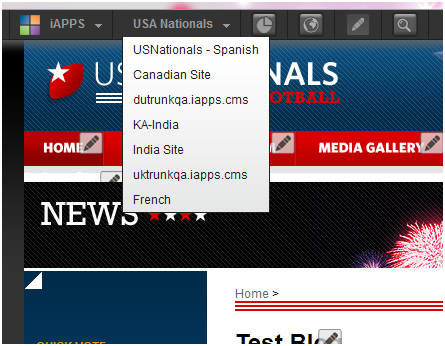
| Name | This is the short name for your site that will appear on the drop-down Site Switch Menu in iAPPS. Examples might include language and or country, such as Canadian Site or Simplified Chinese site. |
| URL(s) | This is the preferred URL for the site, such as www.fr-CA.company.com, For this and all URLs, both an IIS Site and DNS (Domain Name Service) for any URLs need to be set up before continuing. Until the site is live, local iAPPS users may also need to set up host entries. |
| Additional URLs | Comma-separated list that should include any alternative URLs, such as staging sites or sites you want redirected to the primary URL. Both an IIS Site and DNS (Domain Name Service) for any URLs need to be set up before continuing. Until the site is live, local iAPPS users may also need to set up host entries. |
| Description | Optional description of the site. |
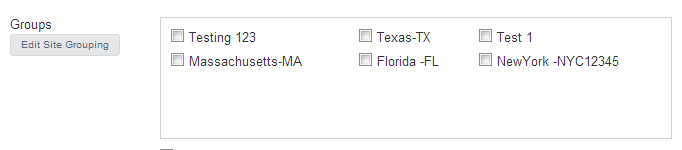
| Groups | Check the boxes next to any groups you would like the site be associated with. If you would like to add a new group, click Edit Groups. See more on Groups below. Note that these groups are unrelated to groups that are used to assign website and iAPPS users permissions on the site. |
| Enable Translation | If you wish to use iAPPS' third-party translation features or use translation as a step in the workflow process, check this box. |
| UI Culture/Default Translate language | This is the language that the iAPPS Admin User Interface will use. You can also use this language as the default language for translation features. |
| Login URL | This is the URL that front-end website users (not iAPPS Users) would use to log in to the site, if any is required. |
| Default URL | This is the URL where the user should be directed after logging in. |
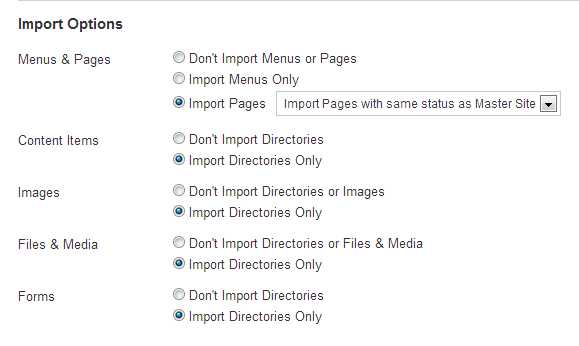
| Import Options |
By checking the radio buttons you can choose to only import the menu structure but not its associated pages or to import existing pages or menus. You can import the pages as draft or with the same status as the Master Site. Pages imported as draft will only be visible to administrators. For site data libraries (Content, Images, Files and Forms) you can choose to import the menu structure of those libraries or simply start with a blank library. No library content is imported as all assets on any imported page will initially be linked to the Master Site assets on that page. However, once a user edits content on the variant site, that content or file will be saved to these new Variant Site libraries, which are separated from the Master Site libraries. Note that this is a change from iAPPS v5.0, which had Variant Sites sharing libraries. If you do not import any Master Site content or its site directories when creating the new Variant Site, the libraries will be completely separate. Otherwise, content in Site Variants will be tied to the original content in the Master Site, even after being renamed.
|
Note: if the entire menu structure is copied when a Variant Site is setup, the security levels and existing user groups will also be copied (not shared) to the Variant Site. Permissions for the users will not be shared, so if user group permissions are changed in a variant site or users are added to the group, it will not affect the Master Site or vice versa.
The next step is adding users to your site. You can add or adjust settings for both iAPPS users and for website users.
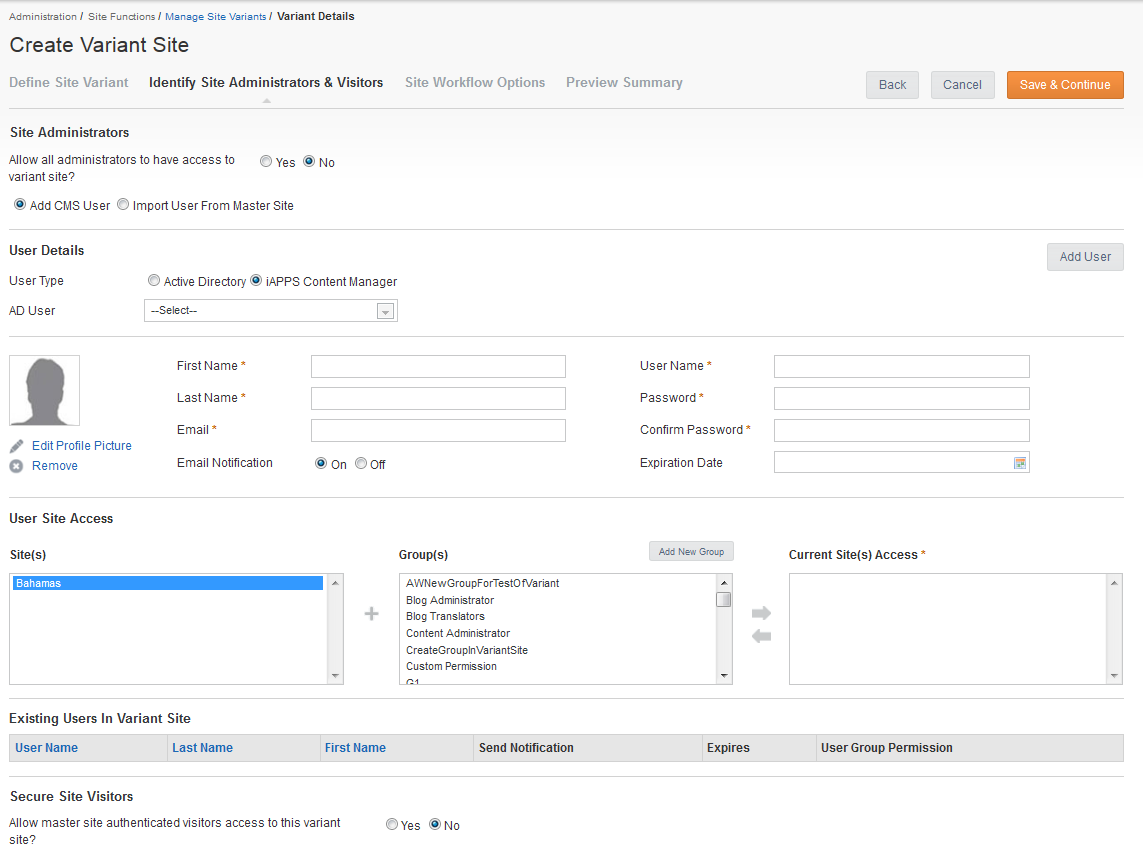
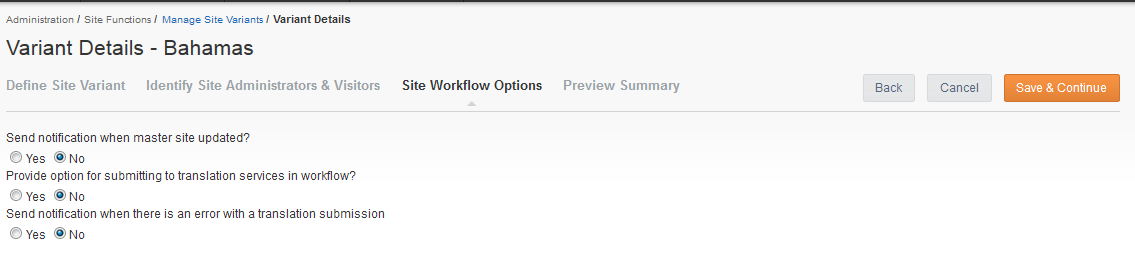
You can choose notifications for workflow and translation as desired.
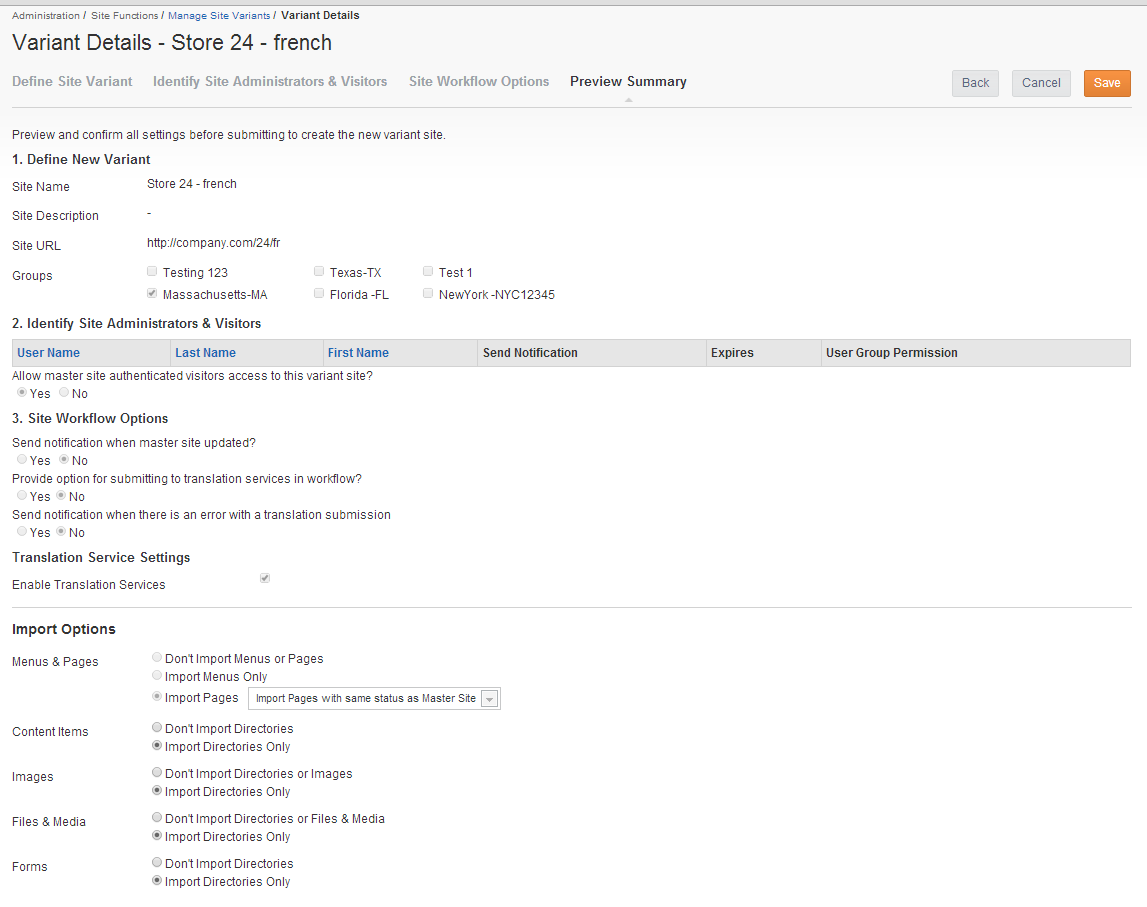
To review detail of an existing site, highlight the site name in the variant list and click View Details. Remember that not all details can be edited once the site has been created.
Once your variant site is created, it will appear in the drop-down lists in the iAPPS Admin and Site Editor. Remember, however that iAPPS users will not be able to access it unless IIS and DNS have been set up.

You can arrange the variant sites in a hierarchy. Variants can be arranged in a parent-child arrangement, meaning that Variant Sites can have their own variant sites, and thus two variant sites could share content with each other rather than with the Master Site.
You can see this site hierarchy within Manage Variant Sites. You can see an individual site's place in the hierarchy at the right side of the listing screen. You can view the entire hierarchy for the site by clicking View Hierarchy at the top of the Manage Variant Site listing.
You can also move sites within the hierarchy to create new parent-child relationships.
These relationships are also reflected when viewing results within Analyzer. See "Site Analytics"
To move a variant site to a different place in the overall site hierarchy:
To delete a site:
Note: once you delete the site, all of its associated non-shared content will also be deleted.
You can set up groups to be used to sub-divide your variant sites. In a small installation, this may not be necessary, but will be a standard part of most iAPPS ds installations. Sites can be in more than one group: two geographical designations (state and region), for example.
These groupings are then used to make it easier to find a variant site in Site Editor or the iAPPS Admin UI. Sites listed as part of a group appear under that group in the drop-down lists for switching from one site to another.
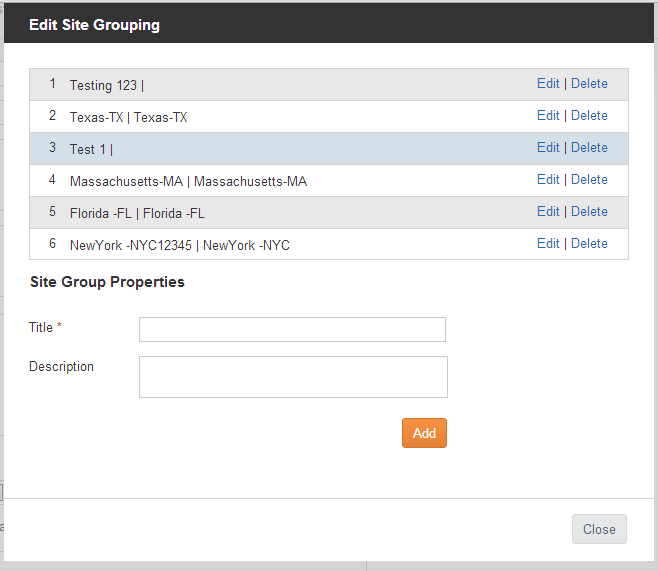
To edit a site grouping:
You can see a site's place in the hierarchy at the right side of the screen. You can view the entire hierarchy for the site by clicking View Hierarchy at the top of the Manage Variant Site listing.
Before deleting a Site Grouping you must remove any sites that are associated with the group from it. Only then can you delete it. 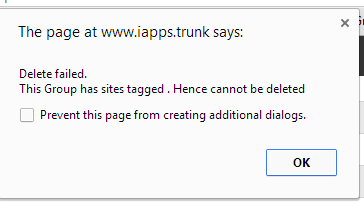
To delete a Site Group:
|
iAPPS is a product of Bridgeline Digital
|