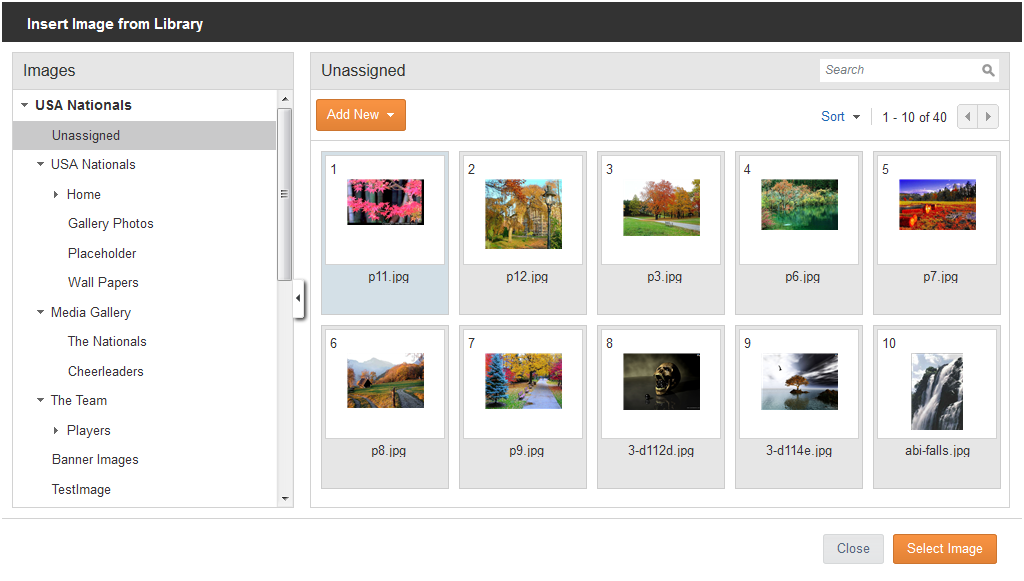
This section describes some basic tasks for managing images while in Site Editor. See "Managing the Images Library"for more information on managing images there.
Most of your images will either be associated with Content Definitons or widgets, or inserted directly into Free Text areas.
Image containers can only contain a single image at a time. You can insert multiple images within a rich text area in a text container.
You can see where the image is used by hovering over the image container.
Note if you insert an image into a rich text area, this popup will show only where the main text content is stored, not any associated images.
Note: To perform any of these image tasks you must first be in Edit Mode in Site Editor. Click the Edit Icon at the very top of the page.
To insert an image from the Library:
While in Site Editor, you can directly edit images that are in an image container.
To edit an image:
Note: If your image is within a rich text container, then you will need to switch to the Images Library to edit it.
You can apply tags to content, including images and files.
You can prevent an image from displaying in a page by hiding it.
When you hide items, they display in the Site Editor Edit mode, but not in Overlay or View as Live modes because they will be hidden from the live website.
To hide an image:
To display again:
To remove an image from an image container:
To remove an image from a rich text area: