
Posts for a particular blog are displayed on the right part of the screen. Once you highlight a blog post, you have a number of options including:
You can add a post at any time by clicking the Add New button.
The main Blog Post list shows a post's status (In Draft or Live) as well as the original publish date. (Note: if you update a post the Post Date will not change).
You can add a post to a blog or edit posts from the Blogs library.
To Add a New Post:
To Edit an Existing Post:
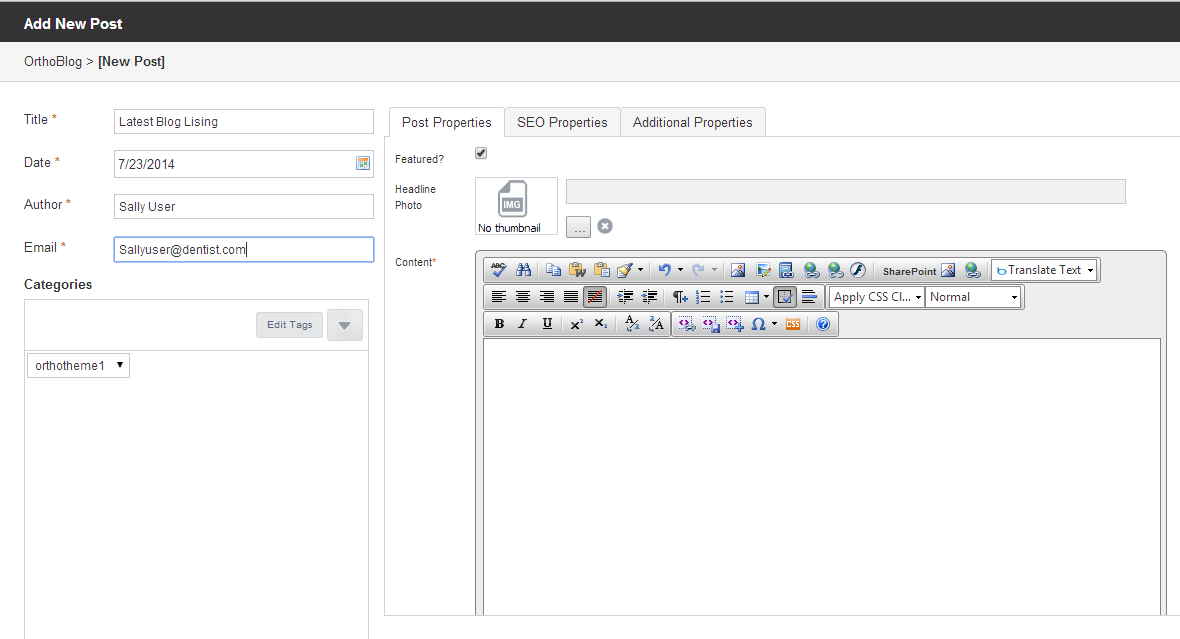
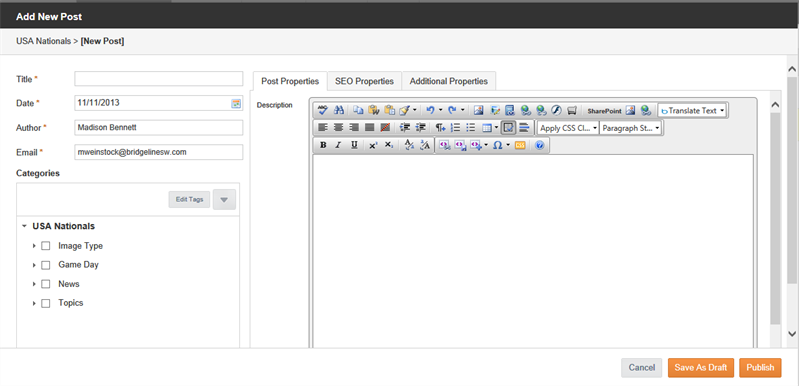
The Add / Edit Post interface appears:
| Blog Post Property | Description |
|---|---|
| On the Left of Popup | |
| Title | Title of post |
| Date | Date on which post was added. Content Manager selects current date by default when adding a post. |
| Author | Name of user whose name will appear on the post. Content Manager selects the name of logged-in user as author by default. |
| Email address of user who authors post | |
| Categories (Tags) | Assign Tags to this post to display in the Categories column in the posts lists. - Click the check box beside the folder or individual Tag to add to this list. - If you select a folder, a confirmation dialog appears, prompting you to specify whether you want to add all terms in the folder. |
| On the Right of the Popup | |
| Featured | Checking the box will allow the post to be featured on any page using the Featured Blog Widget. |
| Headline Photo | This photo will be used to help feature the blog post. |
| Content | The actual text of your blog post. Use the WYSIWYG editor to type in and format your post content. The editor works the same here as it does in Site Editor. |
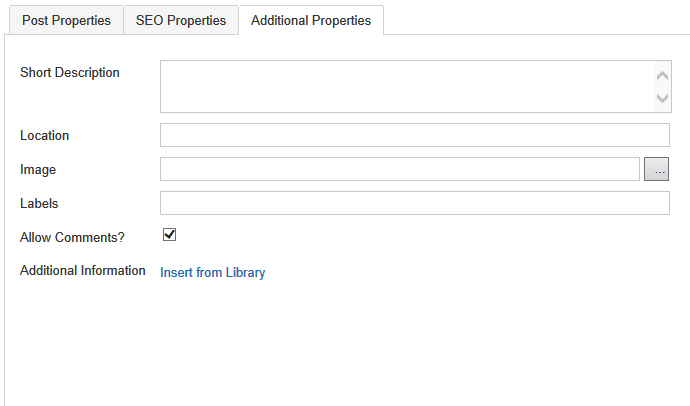
| On the Additional Properties Tab | |
| Short Description | Short description of post to appear in Blog post list. |
| Location | Specifies the location of the author of the post, for example as in a news items byline. |
| Image | Upload an image to associate with the post. |
| Labels |
|
| Allow Comments? | Click this checkbox for iAPPS to allow website users to add comments to this post. |
| Additional Information | This allows for the creation of custom Blog Post property fields. |
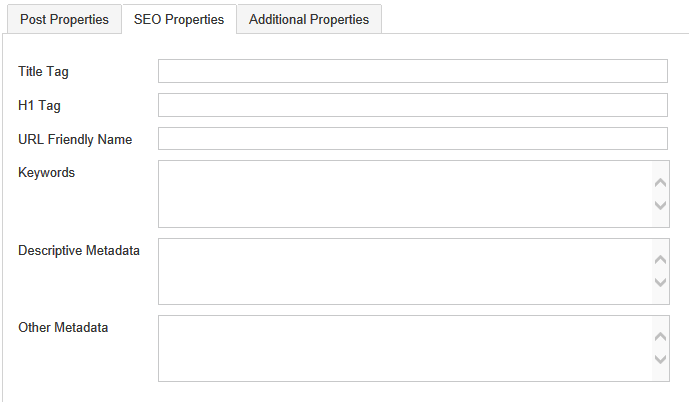
| On the SEO Properties Tab | |
| You can adjust the SEO properties and metadata for a blog post page, as you would for any iAPPS page. See the SEO section for more detail about SEO Properties. | |
| Title Tag | This tag appears in the page HTML. It will appear as the Page Name at the top of a browser. A Title Tag should be no more than 60 characters. |
| H1 Tag | This tag is essentially the page's "headline". It is displayed in the <H1>, which appears in the page HTML, and is often the same or similar as the Page Title. It should be descriptive to aid in searches and so that website users know they have arrived at the right page. |
| URL Friendly Name | This name makes it easier for a user and a search engine crawler to decipher. It is used for Search Engine Optimization. |
| Keywords | Descriptive keywords about the page or blog topic, used as HTML metadata and for internal search. (optional) |
| Descriptive Metadata | This data appears as the <META> tag value in the HTML of the page and on most search results pages. It should be descriptive and keyword rich. 150 character limit, although not all of these will initial display. |
| Other Metadata | Any other HTML meta data that you want to appear inside the rendered HTML of the page. If you need to use a canonical tag, this is where it would placed. |
| On the Post Tab at the Bottom of the Text Editor | |
| Edit Post |
On the Post Tab at the Bottom of the Text Editor
|
| Additional Fields (custom) | From iAPPS v 5.1, blog templates can be set up to include a content definition, which would allow the addition of other fields besides the text editor for the main blog text. See "Adding and Managing Blogs and Settings " for more information. |
Content Manager then:
Typically, a blog displays posts in descending order from newest post to oldest. You can select a post to be always displayed at the top of a blog by making it sticky. You can later remove the sticky designation from a post so that it then appears in the typical order on the blog.
To make a post sticky / not sticky:
Content Manager does not delete archived posts; it removes the post from display on the Blog.
To view archived posts in the list, click the Include Archive check box at the top of the posts list.
To archive a post or make a post active:
Content Manager changes the status it displays for the post in the Blogs library list and either:
You can delete a post from a blog.
To delete a post:
Content Manager removes this post from the blog and the Blog Library.
You do not have to delete the blog post to keep from displaying it on the blog, but can simply archive the post. Archived posts can be retrieved later, but deleted posts cannot.
To view the post in Site Editor mode, choose View Post in Site Editor from the More drop-down menu.
If a post is in draft mode, you can publish directly without editing by choosing Publish Now from the More drop-down menu.
Choose View Comments from the More drop-down menu to manage any comments on the blog post.
See "Managing Blog Post Comments " for details on handling blog comments.
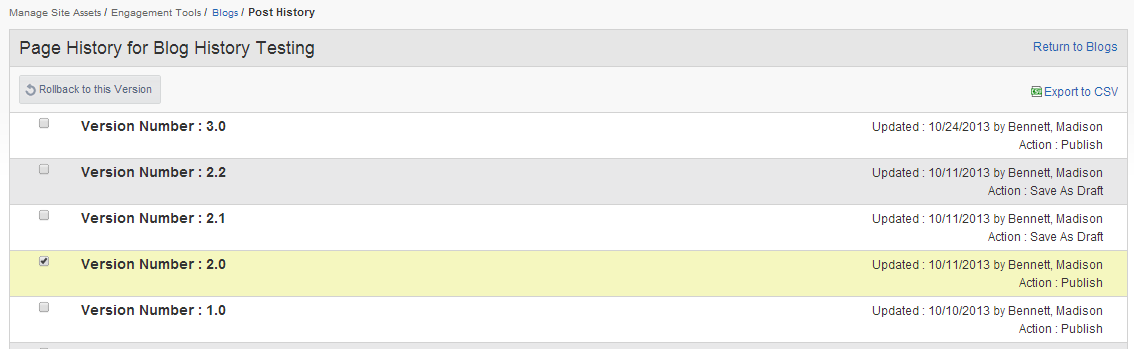
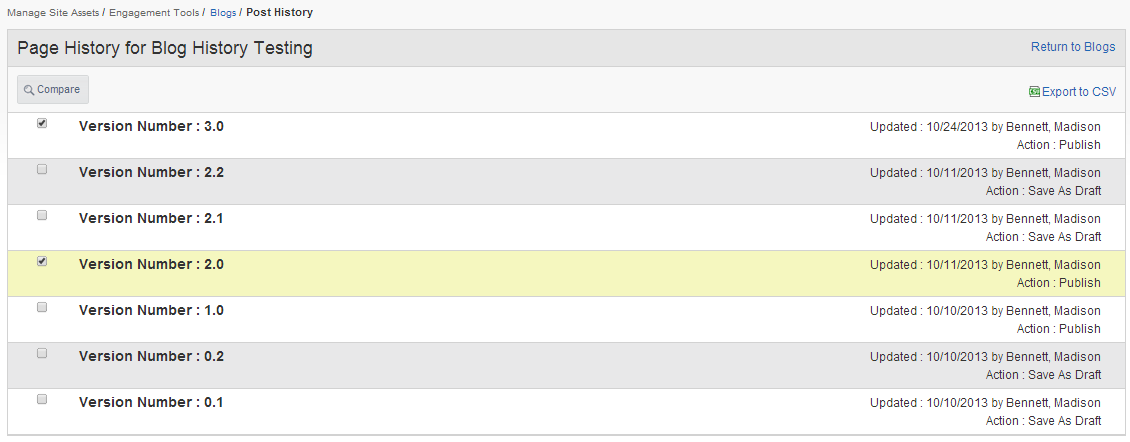
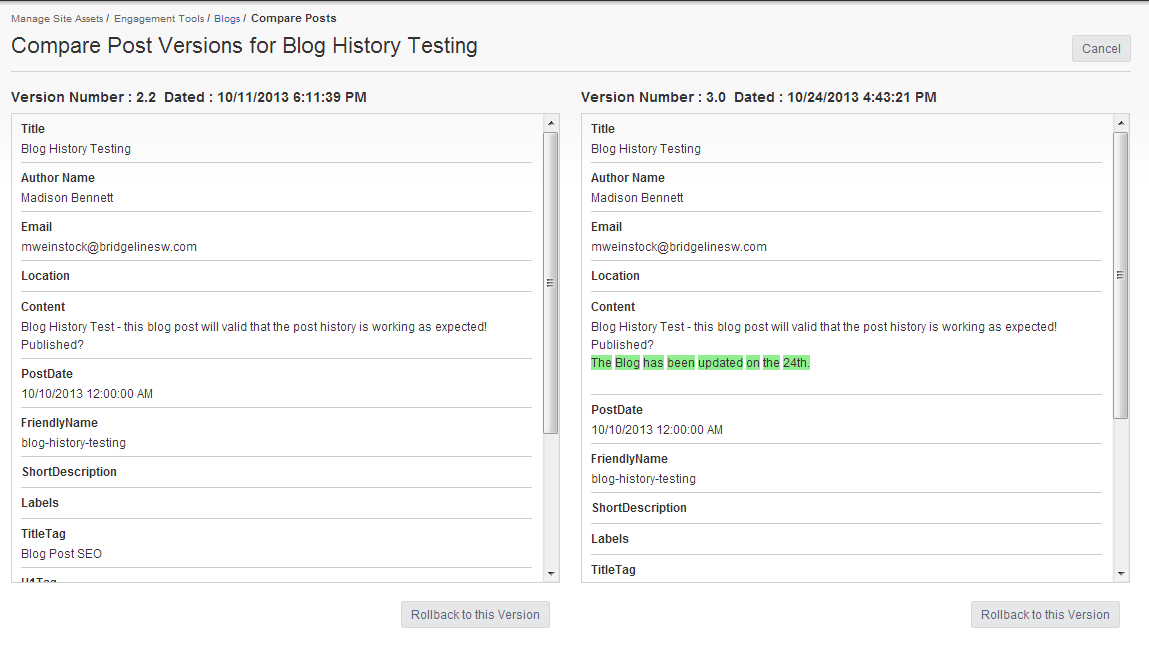
Note that this feature only works from iAPPS 5.1 and forward. Unless a post has been edited or created after the upgrade to version 5.1, then nothing will appear in the page history for that post. Changes made to existing posts before upgrading will not appear in the listing.

|
iAPPS is a product of Bridgeline Digital
|
